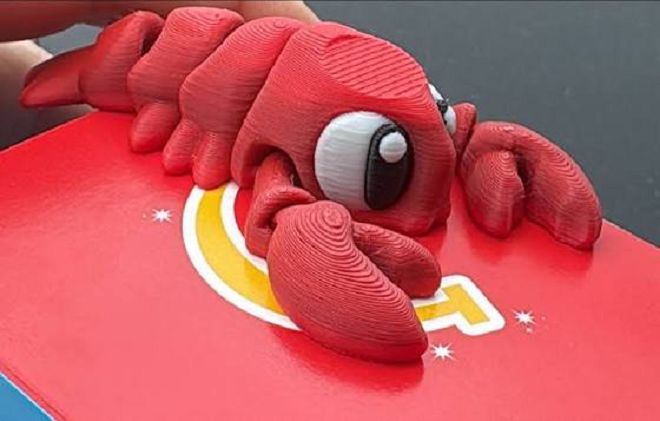
Printing multiple materials from a single nozzle introduces a stubborn mechanical reality: physical cross-contamination. When a machine executes a command to swap from black plastic to white plastic, the transition is never instantaneous. The interior walls of the hotend, specifically the heat break and the microscopic nozzle orifice, remain coated in a highly viscous layer of black residue.
If the toolhead resumes printing the object immediately after cutting and feeding the new filament, the white section will extrude as a streaky, muddy gray for several layers. This visual defect is known as color bleeding. It ruins the aesthetic finish of otherwise perfectly sliced parts and makes crisp geometric transitions impossible. Fixing this issue requires abandoning automated software defaults and taking manual control of how the machine manages fluid dynamics during a tool change.
Calibrating Flush Volumes for Clean Transitions
To prevent pigment contamination, slicing software forces the extruder to push a specific amount of the newly loaded plastic through the hotend to physically scour and wash out the old plastic. This mathematical value is called the flush volume, usually measured in cubic millimeters (mm³).
Most slicing programs apply a flat, default flush volume for every filament swap—often around 200 mm³. This default assumption is almost always incorrect. Pigments behave differently under high heat. Dark plastics contain dense, heavy dyes that aggressively coat the inside of the brass or steel nozzle. Light plastics lack this density. Therefore, the volume of plastic required to clean the nozzle depends entirely on the specific direction of the color transition.
Relying on a flat default volume guarantees failure. You will either experience severe color bleeding on high-contrast transitions, or you will waste massive amounts of material by over-purging on low-contrast transitions. You must manually intervene by adjusting the purge matrix.
The Slicer Purge Matrix
The purge matrix is a grid within your slicing software that allows you to assign specific numerical flush volumes to every possible filament pairing. To optimize this matrix, you must categorize your spools by pigment strength and set the cubic millimeter values accordingly.
| Transition Type | Example Spool Swap | Required Flush Volume | Rationale |
| Dark to Light | Black to White, Navy to Yellow | 450 mm³ – 650 mm³ | Maximum scouring required. Dark pigment residue will heavily taint the translucent base of light filaments. |
| Light to Dark | White to Black, Yellow to Red | 100 mm³ – 150 mm³ | Minimal purging required. The heavy dye of the incoming dark plastic instantly overpowers the light residue. |
| Similar Tones | Light Blue to Light Green | 200 mm³ – 250 mm³ | Moderate purging. Colors are close enough on the spectrum that slight mixing is visually undetectable. |
| Standard to Soluble | PLA to PVA (Supports) | 500 mm³+ | Chemical necessity. Cross-contamination between base plastic and soluble support material destroys structural integrity. |
By programming your slicer to follow these specific volumetric rules, you ensure that high-contrast boundaries remain incredibly sharp, while simultaneously cutting down the material wasted during low-risk transitions.
Stabilizing Internal Extrusion Pressure
Flushing the nozzle clears the old pigment, but it introduces a secondary mechanical defect. Pushing massive amounts of plastic through the hotend at high speeds completely destabilizes the internal pressure of the melt zone. If the toolhead travels directly from the purge sequence back to the exterior wall of your model, the extrusion will hesitate. The first few centimeters of the new color line will under-extrude, leaving physical gaps and brittle layer bonds on the surface.
A properly configured 3D printer mitigates this pressure loss by utilizing a prime tower. The prime tower is a solid, rectangular block of waste material printed on the build plate alongside your main object. After the color swap and the purging sequence are complete, the nozzle travels to this tower and prints a single layer.
The physical resistance of pushing plastic against the prime tower rebuilds and equalizes the internal nozzle pressure. Only after the pressure is stabilized does the toolhead return to the actual model. If you still notice spongy gaps exactly where a color swap occurs, the pressure is not equalizing fast enough. You must increase the base width of the prime tower in your slicer to give the hotend more travel distance to build up the necessary pressure.
Waste Recovery and Optimization Strategies
Aggressively increasing flush volumes is the definitive cure for color bleeding, but it creates an unavoidable byproduct: extreme material waste. On complex parts with hundreds of Z-axis color intersections, the purged plastic can sometimes outweigh the final object. To keep your material costs down while operating a color 3D printer, you must implement internal waste recovery techniques directly within the slicing software.
- Flush into Infill: Instead of ejecting the transition plastic into a waste chute, instruct the slicer to deposit the muddy, mixed plastic into the internal infill structure of the model. Because the infill is entirely encapsulated by the solid outer perimeters, the gray transition color is permanently hidden from view.
- Flush into Support Structures: If your model requires breakaway supports, you can designate the support columns as a purge zone. The mixed filament is extruded into the sacrificial supports, which are snapped off and discarded after the print finishes.
- Flush into a Sacrificial Object: Slicers allow you to place a second, purely functional object on the build plate—like a hidden mechanical bracket or a drawer organizer—and designate it as a “flush object.” The machine will print this secondary item using the exact color transitions occurring at that layer, turning waste material into a usable, albeit randomly colored, physical part.
Conclusion
Eradicating color bleed requires treating filament swaps as an exercise in fluid dynamics rather than relying on default software profiles. By accurately assessing the pigment strength of your materials, manually overriding the purge matrix, and utilizing the physical geometry of your print bed to hide the transition phases, you can guarantee absolute color separation on every layer. Mastering these calibration steps transforms a frustrating, waste-heavy process into a reliable manufacturing workflow, ensuring that your final parts exhibit sharp boundaries and structural integrity right off the build plate.